AsciiConvert Examples
The results from this program can vary significantly, depending on the
input. In general, art converts best when it consists of dark, thick lines
against a light background. Color images are possible inputs,
although they are converted internally to monochrome for the conversion
process.
Below are some of the results from various inputs, and how to handle
them.
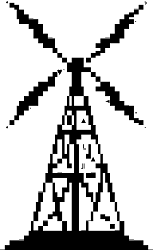
Example #1
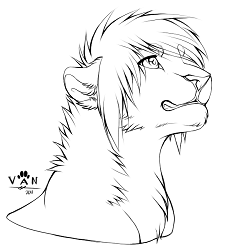
This image is line art with a relatively thin line gauge. These will convert
relatively well, although there may be some detail lost in areas with a fair
amount of surrounding white space.
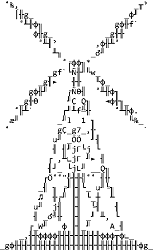
Example #2

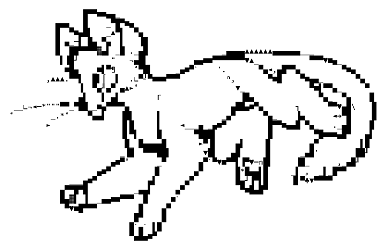
This image was done in much heavier line gauge, and consequently appears in
much thicker characters when converted. To avoid the excessive
"pixelization" caused by heavy use of the block characters, you'd
need to deselect them before running the conversion.


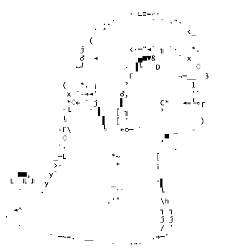
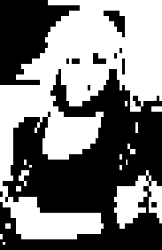
An example of a very poorly suited image, this one has entirely too much
black in it for the program to capture anything but the vaguest shape.

A complex photo, this one still manages to convert better than the previous
image, as it is substantially lighter. However, in images this like this
with significant fine detail, only a blocky, pixelated output will result.

This clip art image converts relatively well, possessing strong, thick
lines. However, the output can still be made less blocky by deselecting
certain characters.
By removing many of the characters with more dark pixels, a somewhat more
varied image can be produced.

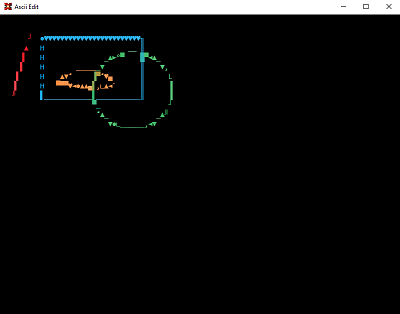
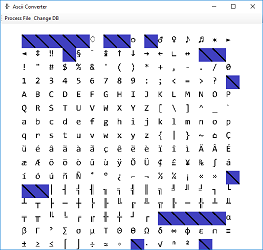
New with version 1.1, AsciiConvert has some (limited) ability to handle color images. First, to process one, click the "Black and White" text on the toolbar to change
it to "Color" then convert your image, like above. It needs to be a colored image against a white or grey background (all non-color shades, i.e. true greys will be interpreted
as not part of the characters.)
The output will look the same from AsciiConvert, but opening the .BIN file in AsciiEdit will reveal the color information.